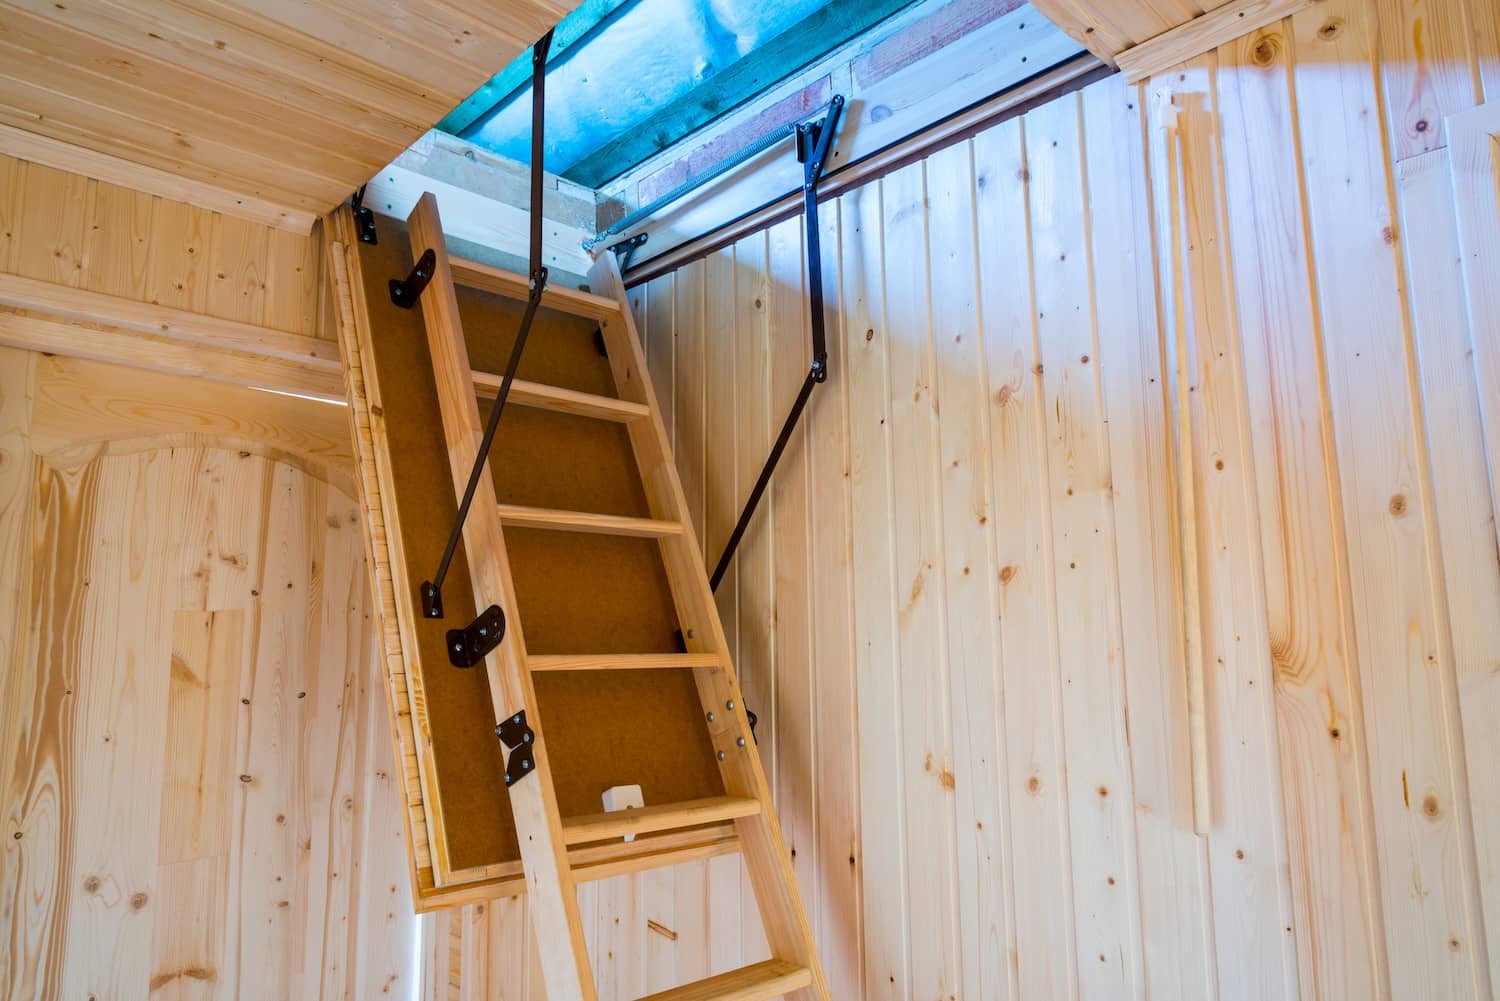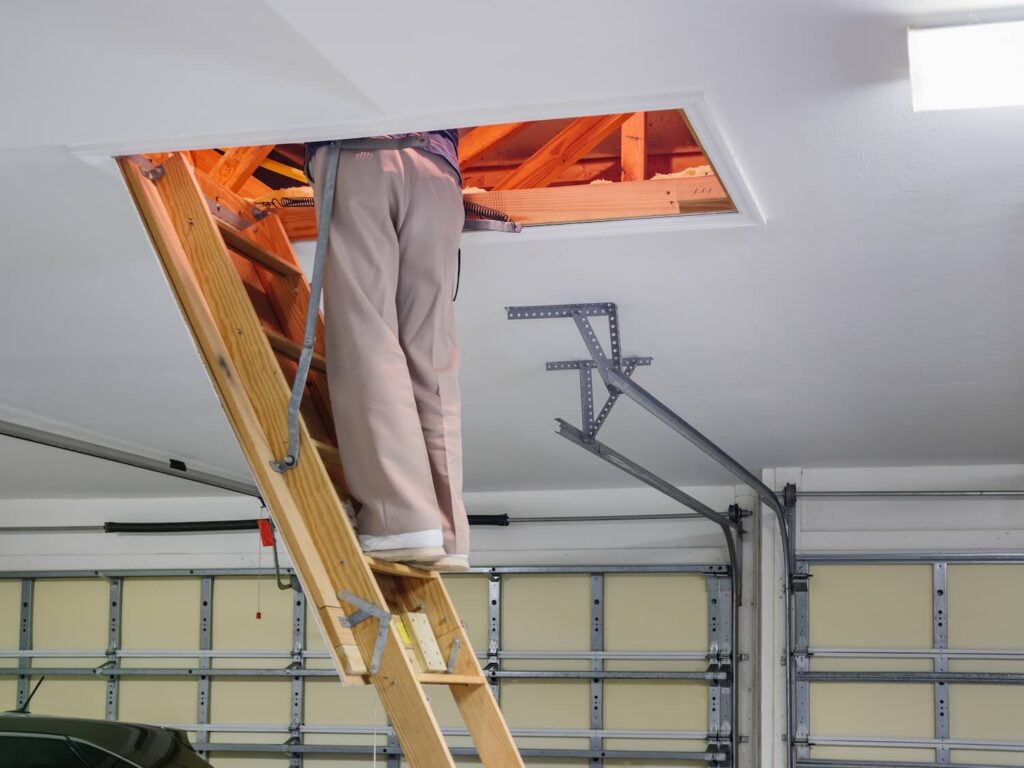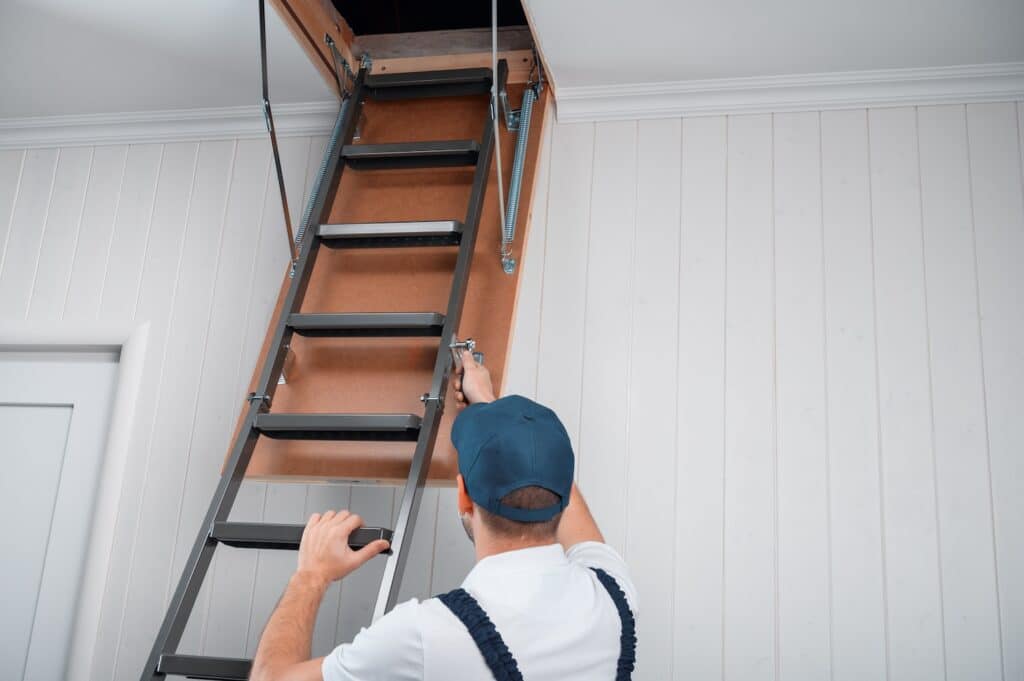
How you utilize and access your attic can significantly enhance a home’s functionality and value. The decision to install attic ladders can pave the way for effortless access to additional storage or even transform the attic into a cozy living area. This feature is a boon whether you’re a homeowner aiming to optimize your attic’s potential or a real estate investor looking to augment your property’s worth.
Are you considering making this addition but unsure where to start? Luckily, you’ve found a step-by-step process that prioritizes safety and efficiency. Let’s get started!
Preparing for Installation
Before starting the installation process, gather all the necessary tools and materials to have everything on hand. This way, you won’t have to stop midway to fetch anything, which can be time-consuming and frustrating.

Items you’ll need to Install your Attic Ladder:
- Attic Ladder Kit: Ensure you select a ladder kit that fits the dimensions of your attic opening precisely. The kit usually includes the ladder, frame, and the necessary fastening hardware.
- Measuring Tape: Accurate measurements are the key to a proper fit, making a reliable measuring tape an indispensable tool.
- Screwdriver and Drill: These will help assemble the frame and attach the ladder securely. It’s advisable to have a set of screwdrivers with different head sizes and shapes. This way you have the necessary tools, regardless of size.
- Saw: A suitable saw is necessary for cutting out the attic opening and possibly trimming the ladder to the correct length, depending on your attic height.
- Nails or Screws: These fasteners will secure the ladder frame to the surrounding structure. The type and size of the fasteners will depend on the specifications provided in the ladder kit instructions.
- Level: A level will help ensure that the ladder frame is installed perfectly horizontally and vertically, which is crucial for safe operation.
- Safety Goggles and Gloves: Safety should be your priority. Wearing safety goggles will protect your eyes from sawdust and debris, while gloves will protect your hands during the cutting and drilling process.
Measure and Cut the Opening
To begin, measure the size of your attic opening carefully. Use a measuring tape to determine the height, width, and depth of the opening. Once you have accurate measurements, mark them on the ceiling with a pencil.
Next, using a saw, carefully cut along the marked lines to create an opening for the attic ladder. Take caution to follow safety guidelines and use protective gear, such as safety goggles and gloves, to prevent injuries.
Install a Frame for the Attic Ladder
Now, it’s time to install the frame for your attic ladder. Begin by assembling the frame according to the manufacturer’s instructions provided with the ladder kit. Make sure to follow them precisely to ensure a secure and stable installation.
Once the frame is assembled, position it into the opening you created in the previous step. Ensure that the frame is level and plumb, using a level to check for accuracy. Secure the frame in place by attaching it to the surrounding ceiling joists with nails or screws.
Attach the Ladder
With the frame secured, you can now attach the ladder itself. Carefully follow the manufacturer’s instructions to connect the ladder to the frame securely. This process may involve drilling holes and using screws or other fastening mechanisms provided with the kit.
Ensure that the ladder is aligned properly and opens and closes smoothly without any obstructions. Double-check its stability by applying gentle pressure and ensuring it remains firmly in place.
Other Recommended Maintenance
Following a proper installation, understanding how to maintain your attic ladder is crucial for ensuring its longevity and safe use. Check the integrity of the ladder and its components every six months or as per the manufacturer’s recommendations, looking for any signs of wear or damage to the ladder, hinges, and hardware. Tighten any loose screws or bolts, and replace any parts that appear worn or damaged. It’s advisable to adhere to a regular maintenance schedule, especially if you live somewhere that gets extremely cold or extremely hot throughout the year.
Knowing how to keep the moving parts well-lubricated is essential; a periodic application of a silicone-based lubricant can significantly help keep the ladder working smoothly. Additionally, cleaning the ladder and the surrounding area of debris and dust will maintain a clear path for use, reduce the risk of accidents, and ensure a better seal on the attic opening itself. This holistic approach to maintenance ensures that your attic ladder remains a safe and valuable addition to your home for years to come.

When to Call a Professional to Install Attic Ladders
While installing an attic ladder can be a DIY project, there are instances when calling a professional is the better choice. If you encounter structural concerns, such as rotten joists or unusual framing configurations, it’s wise to consult a professional. Similarly, if the installation instructions are unclear or beyond your skill level, hiring a professional installer is a smart move. A professional can ensure the ladder is installed correctly, safely, and in compliance with local building codes, providing peace of mind.
Conclusion
Investing time to install attic ladders can significantly enhance the functionality and accessibility of your home. By following the steps outlined in this article, you’ll be well on your way to completing this project successfully (and showing off your completed attic addition).
However, remember that regular maintenance is essential to keep your attic ladder in good working order, and safety using the ladder should always be the priority. If you have safety concerns about other areas of your home, reach out to Alpha Building Inspections for a helping hand.


