Is your home’s interior looking a bit worse for wear due to chips in the paint? Peeling or chipped wall paint is a common inconvenience that many homeowners face – but it doesn’t have to be a big headache to fix.
With the right tools, techniques, and a little patience, you can easily repair chipped paint and restore your walls to their former glory. In the sections below, we’ll break down the whole process. Our goal is that, by the time we wrap up, no chipped paint will be a match for your expertise.
What Causes Paint to Chip?
Let’s kick off with the most common reasons that you might catch your paint peeling. Other than being bumped or scratched by something hard, there are several causes for this eyesore. Most commonly, it stems from excessive moisture, poor surface preparation before painting, and low-quality paint or primer.
Finally, natural deterioration, due to age and exposure to sunlight and temperature changes, is another inevitable factor over time.

Preparing the Area
To begin the fix, start by removing any loose or chipped paint from the affected wall area using a scraper or putty knife.
Be careful not to damage the underlying surface as you work. Once you’ve removed the loose paint, you’ll need to fill any holes, cracks, or gaps. Use a suitable patching compound or spackle and a putty knife. These will make it easy to smooth out the patched area, ensuring a level surface and a seamless blend.
Sand, Prime, and Patch
After the patching compound has dried completely, the next step is to gently sand the patched area with fine-grit sandpaper. This process will help create a smooth surface that is even with the rest of the wall. After sanding, wipe away any dust using a damp cloth or sponge. This will ensure a clean surface for the next steps.
Before applying paint to the patched area, it’s crucial to use a primer to ensure proper paint adhesion and an even finish. Apply the primer according to the manufacturer’s instructions, allowing adequate drying time before moving on to the final painting step.
Fixing the Chip
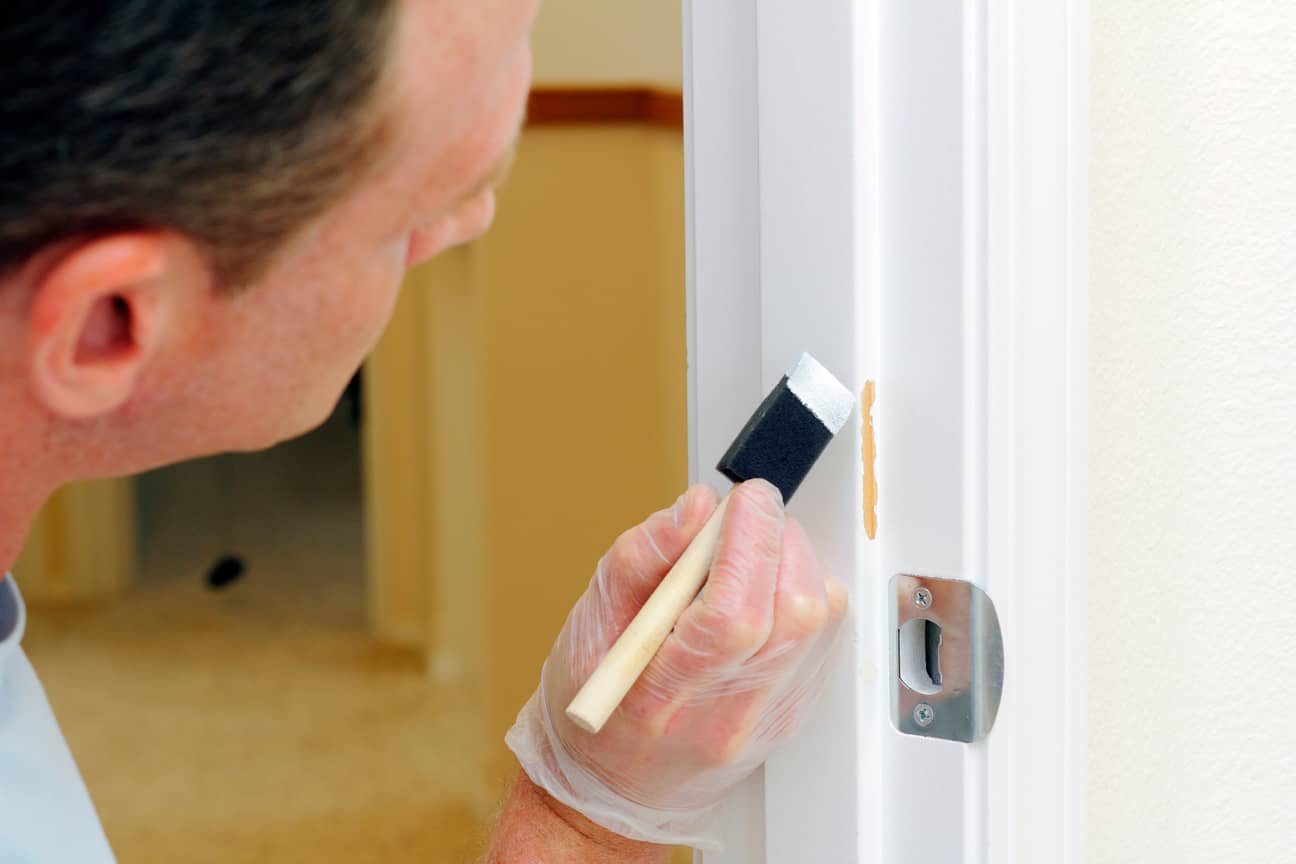
With the patched area properly prepared, sanded, and primed, it’s time to apply the paint. Depending on preference and the size of the area, use a brush, sponge, or roller. Carefully apply a coat of paint that matches the original wall color to the patched area.
To achieve a seamless integration, feather the edges where the new paint meets the old paint, blending the two sections. If the repair is pretty extensive, you may need to apply additional coats for optimal coverage and consistency. Allow each coat to dry completely before applying the next.

Other Recommended Maintenance
While you’re in the process of repairing chipped paint on your walls, it’s a good idea to take a step back and assess other areas of your home that may require some attention.
One area that often goes overlooked is the caulking around windows, doors, and baseboards. Over time, caulk can crack, peel, or shrink, allowing drafts and moisture to enter your home. Regularly inspecting and replacing damaged caulk can help improve energy efficiency, prevent water damage, and enhance the overall appearance of your space.
Another task to consider is cleaning and maintaining your home’s gutters and downspouts. Clogged gutters can lead to water overflow, which can damage your roof, fascia, and foundation. Cleaning your gutters at least twice a year and ensuring that downspouts direct water away from your home’s foundation can protect your property from water-related issues.
Finally, don’t forget about the importance of regular HVAC maintenance. Scheduling annual tune-ups for your heating and cooling system can help improve its efficiency, extend its lifespan, and ensure that it’s operating safely.
When to Call a Professional
Knowing when to hand over the reins can save you time, money, and potential headaches in the long run. If you’re dealing with chipping that covers a large area, it may be more efficient to hire a professional.
In cases where the underlying cause of the peeling paint is related to structural issues, such as water damage, mold, or rot, it’s crucial to address these problems before attempting any cosmetic repairs. A professional contractor can assess the situation, determine the best course of action, and make necessary repairs to prevent further damage.
Sometimes, the decision to call in a professional comes down to a lack of time, tools, or confidence in your abilities. If you’re unsure about how to proceed with a repair or don’t have the necessary equipment, it’s better to err on the side of caution and hire a professional.
Conclusion
Chipped wall paint may be a common problem, but it doesn’t have to be a pain to fix. When you know the steps and the prep needed, you can tackle this issue head-on.
As you work to revitalize your walls, don’t forget to give the rest of your home some TLC, too. Remember, while handling your repairs can be satisfying, there’s no shame in calling in the pros when needed. Whether you’re facing extensive damage or simply need to schedule an inspection of the whole home, experts are just a call away. Reach out to Alpha building inspections in Merrimack, NH, and surrounding areas today.


