If you’ve ever tried hammering flimsy little nails into a baseboard only to have it slowly wiggle loose over time, you know the frustration of using the wrong fastener. A loose baseboard not only looks sloppy but also allows dust and grime to sneak in, damaging your beautiful floors. But with so many options on the market, how do you know what size nails are best for your baseboard?
In this article, we’ll cover everything you need to choose the ideal nails for flawless DIY baseboard projects. You’ll learn how to match nail size to baseboard thickness, compare nail gauges and materials, and leverage the right tools for an easier install.
Why Nail Size Matters
Ever peeled off a baseboard only to find a scattering of bent nails behind it? Using the wrong size of nails can lead to a loose, unstable baseboard that lifts, shifts, and even detaches completely over time.
Nails anchor the baseboard firmly to the wall and/or floor. This prevents movement from bumps and everyday stresses like vacuum cleaners banging into them. Proper nailing also allows the baseboard to expand and contract naturally with environmental changes without cracking.
The consequences of bad nails go beyond just appearance issues. Gaps from loose baseboards allow dirt, bugs, and moisture penetration. This can lead to damaged walls, floors, and even mold growth. Rotting baseboards are also a fire hazard.
In short, the right nails are essential for a secure baseboard that stays put, keeps pests out, and withstands wear and tear. Keep reading to learn what size and type of nails deliver lasting strength!
Factors That Determine Proper Nail Size
When choosing the right fasteners for baseboards, consider these key factors:
Baseboard Thickness
The thickness of your baseboard is the primary deciding factor of which nail size to use. Standard baseboards are typically 3⁄4” thick. For these, 2” nails allow full penetration into the wall studs or substrate. Upsize nail length if using thicker decorative hardwood baseboards. The nail should sink completely into the baseboard without breaking through the other side.
Nail Gauge
Along with length, pay attention to the nail gauge or diameter. Thinner nails are less likely to split baseboard material. 16-gauge finish nails provide a good balance of thinness with sufficient strength for most baseboard applications. Larger gauge nails may be needed for very thick trim.
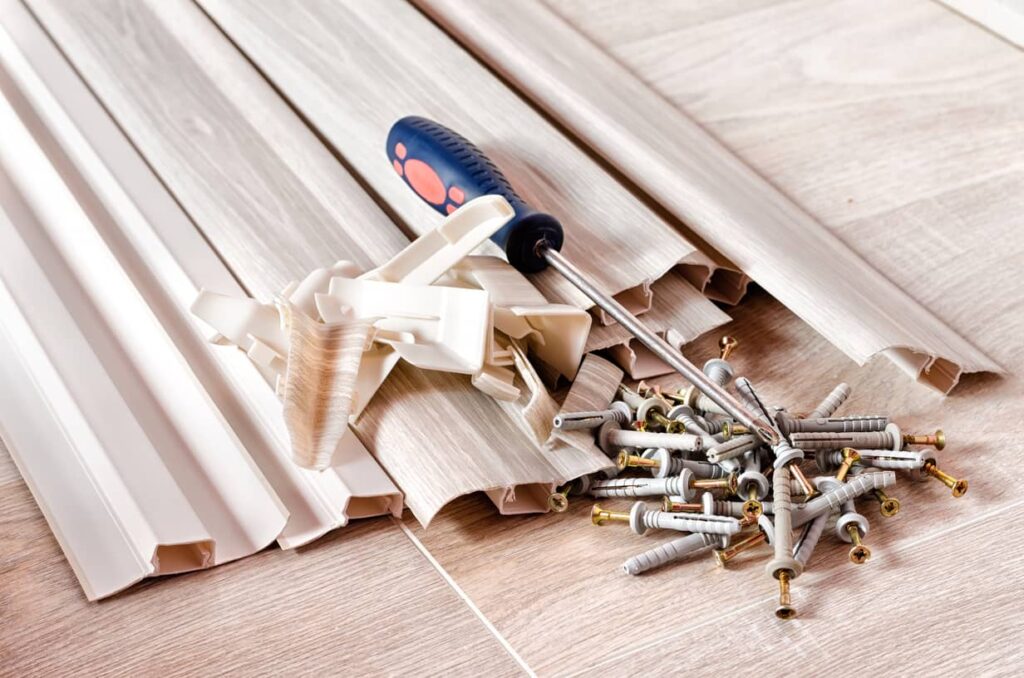
Material
Consider using galvanized or stainless steel nails, which resist corrosion better than basic steel. This prevents staining or weakening of the nails over time. Some specialty baseboard materials like PVC may require specific nails to prevent cracking.
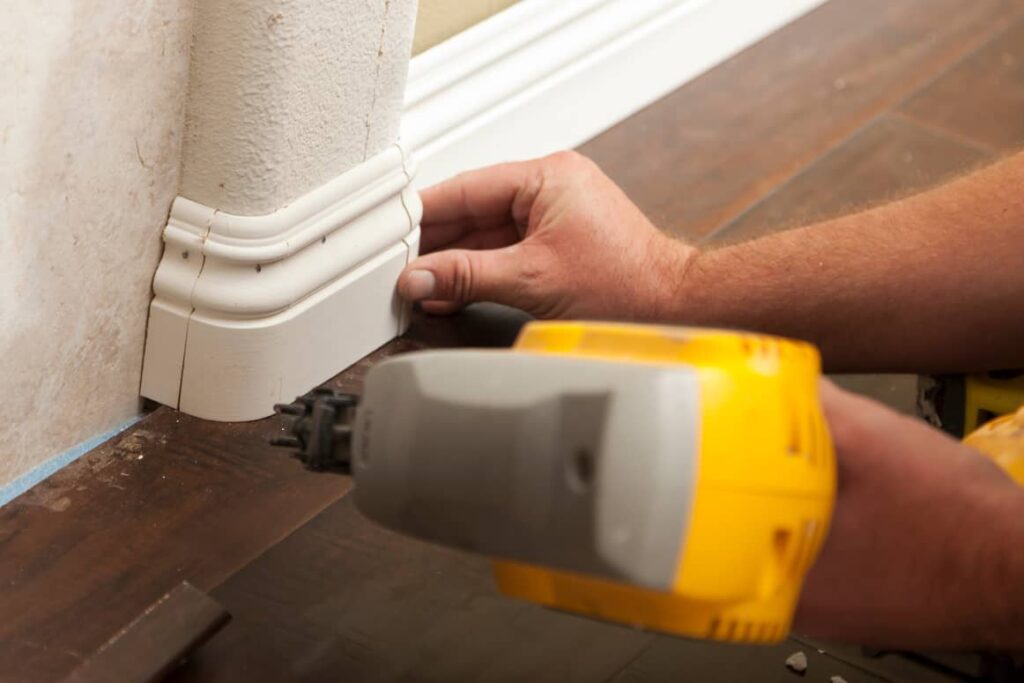
Power Nailer Capabilities
If using a powered nail gun, select nail sizes and gauges that it’s designed to handle. The nailer’s manual will indicate the appropriate fasteners to prevent jams or damage. Most finish nailers work with 16-gauge nails.
Substrate Material
Factor in what material you are nailing into when choosing nail length. Drywall requires slightly longer nails than nailing into wood studs. This ensures the nails fully penetrate the substrate for maximum holding power.
What Else Should I Know About Baseboard Nailing?
Now that you understand the key factors in selecting the proper nails, here are some other tips for a seamless baseboard installation:
- Pre-Drill Hardwood – Drill small pilot holes in the hardwood baseboard to prevent splitting when nailing. Use a drill bit slightly smaller than the nail diameter.
- Find Studs – Use a stud finder to mark the stud locations before nailing. This allows you to nail into the studs for optimal strength.
- Set Proper Depth – Adjust the depth settings on a power nailer to avoid driving the nails below the baseboard surface. Countersinking can cause cracks.
- Fill Holes – Once installed, fill nail holes and imperfections with wood filler then sand flush for a seamless look.
- Caulk Edges – Caulking along the top edge and seams gives a clean finish and prevents air leaks. Allow proper cure time before painting.
- High-Quality Materials – Invest in nails like Fastener USA’s galvanized steel which resist corrosion and meet building codes for strength. Their rigorous quality control gives peace of mind the nails will hold.
- Patience Pays Off – Finally, take the time to properly measure and nail the baseboard to get it right the first time. Rushing leads to crooked boards or damaged walls.
Other Recommended Maintenance
Ensuring your walls stay smooth and seamless makes a space look clean and put together. Fill dents properly by cleaning the area, packing it with drywall compound, carefully sanding, and repainting. Use painter’s tape along the edges for best results.
Additionally, caulking around baseboards also keeps dirt and bugs out. Scrape away old caulk and wipe the area down before recaulking. Choose a high-quality silicone or latex caulk in a matching color. Take care not to smear the caulk for professional-looking lines. Lastly, make sure to wipe away excess before it dries.
When to Call a Professional
Installing baseboards yourself can save money, but some situations call for hiring a professional. If your home requires intricate trim work, rounded corners, or custom designs, an experienced carpenter has the skill to nail the details. They have the right tools to achieve very tight seams between boards and properly work with wood filler.
Professionals also know how to work efficiently without damaging your existing walls and floors. Their precision nailing and expertise with difficult materials like solid hardwood baseboards make your investment look flawless for years.
Conclusion
In summary, when it comes to baseboard installation, the proper size of nails is key to durability. Match nail size and gauge to your baseboard thickness to prevent loosening over time. Consider corrosion-resistant galvanized or stainless steel nails for strength. And don’t forget little details like pre-drilling, finding studs, setting nail depth, and filling holes for flawless finished results.
With the right techniques and quality nails, you can take on baseboard projects like a pro. However, for expert advice or an in-depth inspection of the whole house, schedule with Alpha Building Inspections in NH, MA, and ME today!