
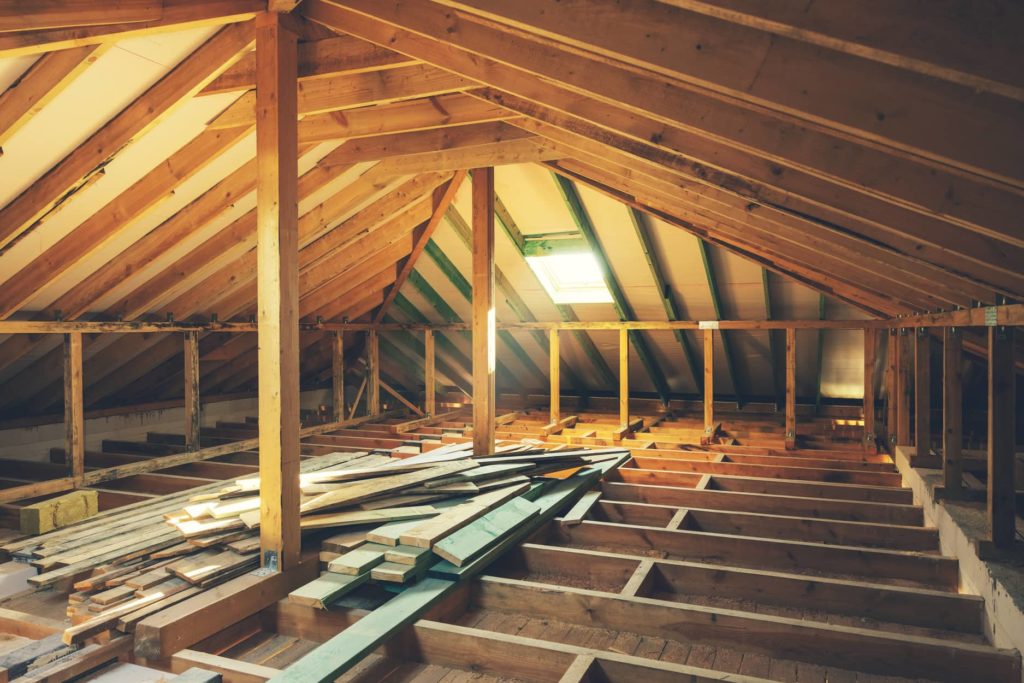
One of the most exciting extras in a home happens to be the attic space. In some cases, the attic space is large enough to create a whole extra room. Other times, the attic space is just big enough to store some holiday decorations. Regardless of how big or small your attic space is, you can always re-purpose the space. How to make a truss attic suitable for storage? Adding plywood and shelves in between the truss beams will create storage opportunities.
Let’s take a look below at what we should look for and what we might need prior to completing this project.
First Check For Damage
Anytime that you are looking to change the look of your home, you want to make sure that previous damage hasn’t occurred. Especially, when it comes to the attic and roofing supports, like trusses. Make sure that you inspect the attic space before building around your trusses. Also, look to clean your attic crawl space. Before enclosing the trusses and beams, check for water damage. If you do not repair any water damage first, then mold can grow and spread fairly quickly throughout the attic. Also, you wouldn’t want to add additional weight to an already weakened truss.
What Will I Need
When it comes to projects around your home, there are always recommended tools and materials that are needed. Listed below are the needed tools and materials that you will need prior to building out your attic space.
- Plywood
- 2×4 boards
- 2×2 boards
- 2-inch screws and 3-inch Spax screws
- Tape measure
- Marker
- Level
- Circular saw
- Drill
Before you begin turning your truss attic into a storage area, have the structural integrity checked. When you add flooring, or shelves to your roof trusses, this could create additional weight on the roof. Be sure to check your support beams, ceiling joists, and trusses before adding flooring and floor panels.
Attic conversions can be tricky depending on the living space available. Always keep in mind that an easy installation project still requires structural integrity tests to make sure that added weight will not damage the attic storage space.
What Are The Steps
Every time a homeowner takes on a new project, there are always recommended steps or directions. Creating storage space by building out your attic trusses is no different. In order to ensure that you have a successful project, take a look at these recommended steps.
- Distance – measuring out the distance from truss to truss will allow you to determine how much plywood and how many 2x4s you will need for support. Also, take note of where you will build your shelves between the trusses. This is because you cannot relocate pipes and air ducts.
- Mark the boards – once you have measured the space, begin marking your 2x4s and then cutting them with your circular saw. Do this as many times as you need to accomplish the project.
- Screw them in – due to the small working space that you have, it is recommended that you drill screws into the boards. Place one screw in each corner of the 2×4.
- Add support – install 2×2 boards to the rafters in front. This is to create your additional shelving spaces. Installing an 18-inch shelf will require a 2×19 board being screwed into the rafter. Add another board after the first one is screwed in. Then install 2 more boards on either side of the rafter to create a rectangle base.
- Plywood – once the support boards are installed, you can begin measuring, and cutting the plywood. Once each piece is cut to fit, you can screw the plywood down into place.
- Additional notes – never over place heavy items on these shelves. Truss attics are not meant to hold heavy storage items. If you do end up creating a base or a shelf for storage, make sure to evenly disperse the weight of your storage bins or items.
Other Recommended Maintenance
Now that you have read up on making your truss attic suitable for storage, it is a great idea to explore how you can air seal the attic. If you are going to be adding more wood and flat surfaces, you might want to air seal the areas that you might be covering up.
Next, look into the amount of insulation that should be present in the attic space. Covering up various areas of your attic will require you to understand what insulation to replace or if you should add more.
Lastly, before changing any part of the attic space, have your home inspection team come out to inspect the insulation and trusses. You can request that your local home inspection team check for asbestos before you start messing around in the attic crawlspace.
When Do I Call A Professional
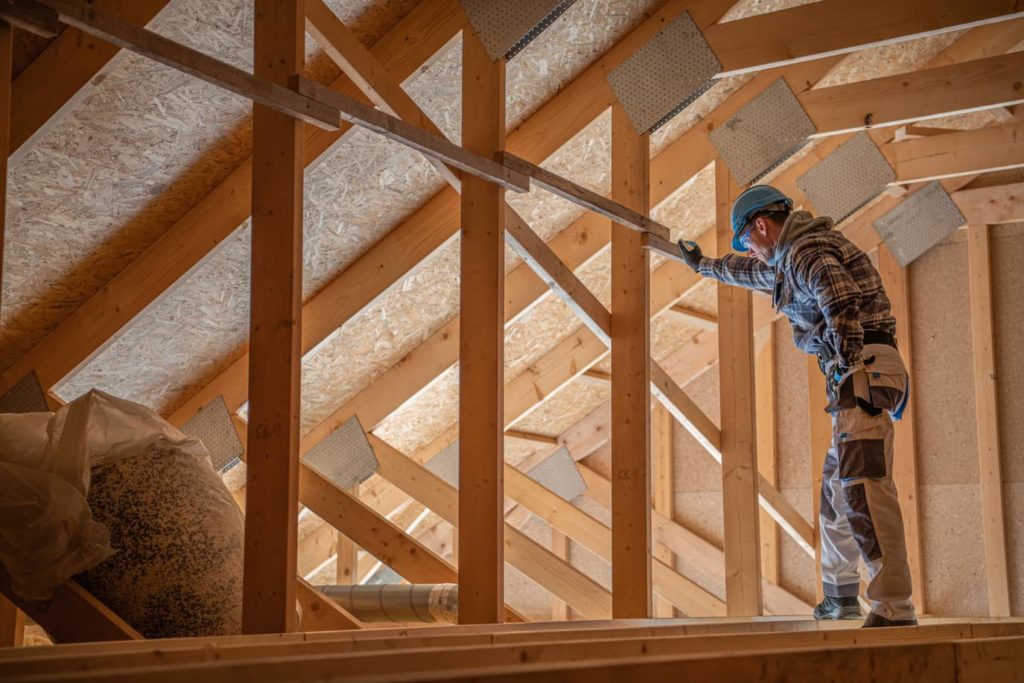
Before starting this project it is a great idea to call on a professional roofing contractor. They can come out and take a look at your attic trusses to determine where you can safely add extra weight. Additionally, they can look for damaged truss beams and make the repairs for you. If you aren’t sure who to call, reach out to your local home inspection team. They can inspect the entire attic space while doing a full home inspection. Also, they can recommend a reputable professionally licensed roofing contractor to assist with this project.
Conclusion
Understanding the process of making your truss attic suitable for storage is important for it to be a successful project. Most homeowners can handle a project like screwing in boards and cutting up plywood to fit. However, not all homeowners have the time, energy or tools to complete this project. Call on your local home inspection team so that they can explore the conditions of your attic space and make the proper recommendations for building out a suitable storage space. Call Alpha Building Inspections and they can help recommend a reputable licensed contractor in Merrimack, NH, and surrounding areas.

