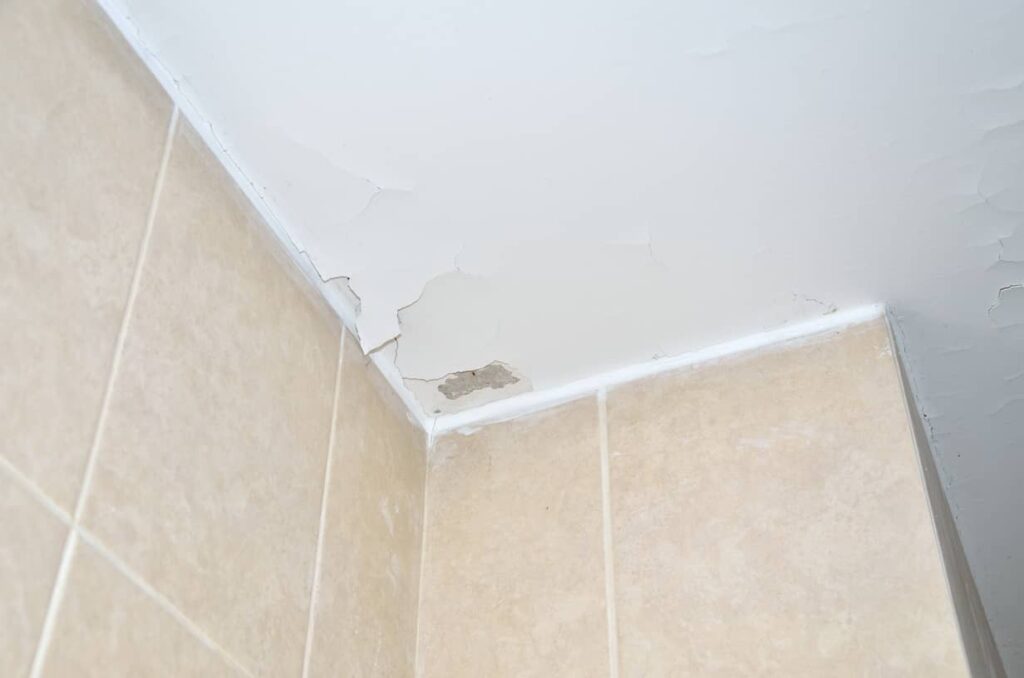
When it comes to homeownership, the job is pretty much never done. Painting a bathroom ceiling might not be your idea of a fun weekend, but it’s a necessary part of bathroom maintenance that shouldn’t be overlooked. Due to the high moisture levels typically found in bathrooms, the ceiling can often become a breeding ground for mold and mildew. But how do you paint a bathroom ceiling? How similar is it to the process of painting the walls?
This guide will walk you through the steps to complete the project like a pro, ensuring a fresh, clean bathroom ceiling you’re proud of. Let’s take a deeper dive!
Needed Tools and Materials
Transforming your bathroom ceiling from drab to fab with a coat of paint requires some essential tools and materials. To ensure your painting project is a splash hit, let’s ensure you’re geared up with everything you need. Say goodbye to chipped, moldy paint and hello to a pristine, moisture-proof oasis!
Here’s What You’ll Need:
- 9-inch Paint Roller: For smooth and even paint application.
- 2 1/2 Inch Angle Sash Brush: For those hard-to-reach corners and edges.
- Painter’s Tape: To keep your lines sharp and protect your walls.
- Drop Cloth or Plastic Sheeting: To keep fixtures and floors spotless.
- High-Quality Paint and Primer: Opt for mold and mildew-resistant varieties for bathroom resilience.
- Wall Joint Compound or Spackle: To patch up any imperfections before you begin.
- Paint Tray: For easy roller access and no mess.
- Sturdy Ladder: To safely reach every part of your ceiling.
- Paint Remover: For any slips or drips, to ensure a clean finish.
Double-check that the paint and primer you select are tailored to the unique conditions of a bathroom setting!
What Are The Steps?
Completing any project in your home can be rather difficult. Things get more confusing when you don’t have a clear plan to follow. To complete a project like painting your bathroom ceiling, look to follow these steps. Here’s what to do once you gather all your materials:
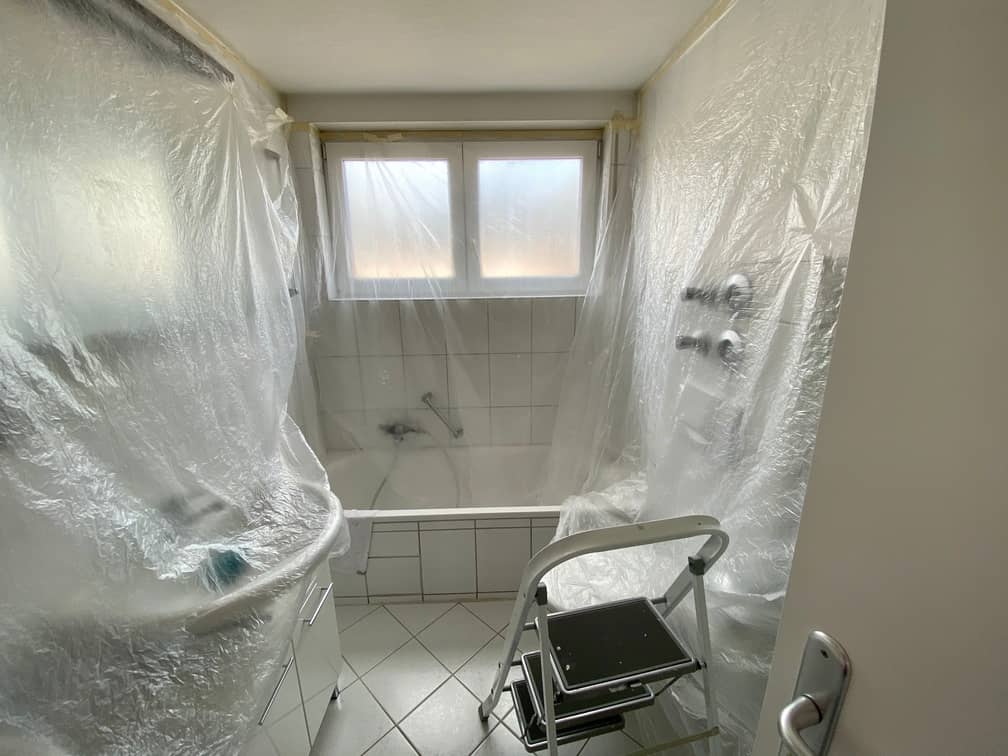
- Prepare Your Space: Clear the area and lay your drop cloth to safeguard every surface. Don’t leave any sink, counter, or floor unprotected!
- Tape it Up: With precision, apply painter’s tape along the edges where the ceiling meets the walls. This will ensure your paint lines are clean and crisp.
- Prime the Surface: Pour your mold-resistant primer into the paint tray. Starting with the angle sash brush, target the corners first. Then, with your roller, coat the rest of the ceiling. The goal is even coverage. Allow the primer to fully dry for 24 hours.
- Apply the Paint: Dip into your chosen paint, and like the primer stage, begin with the edges. Brush a band about two to three inches wide. Next, take your roller and fill in the larger ceiling area. Work systematically and maintain a steady pace. Your safety is crucial, so be cautious on the ladder.
- Clean and Admire: Once the paint is dry, remove the tape carefully. Clean any splatters with paint remover. Step back and appreciate the fresh, mold-resistant ceiling you’ve achieved.
Other Recommended Maintenance
Once the ceiling painting is complete, it’s smart to turn your attention to other areas of the bathroom that may need care. Keeping your toilet from overflowing starts with frequent checks and quick adjustments. For a clog-free experience, consider regular maintenance of your plumbing.
Moving on to the showerhead, if you find yourself out of vinegar for cleaning, don’t worry. There are several effective alternatives, such as lemon juice or baking soda, that can dissolve buildup and restore the flow.
Lastly, don’t overlook your sinks. Even with just salt at hand, you can create an abrasive solution that tackles grime and leaves your fixtures shining. Understanding the versatile uses of common household items can lead to eco-friendly and cost-effective cleaning. With these maintenance tips, your bathroom won’t just look good, it will function well, too, creating a space you can be truly proud of.
When to Call a Professional
While diving into a DIY project can be rewarding, there are times when a professional’s touch is necessary. If the thought of climbing a ladder invokes a sense of dread, or if every minute of your day is accounted for, bringing in a skilled painter can save you both stress and time. Professional painters bring efficiency and a level of quality that comes from years of experience.
Moreover, if you suspect your bathroom has underlying mold issues, it’s prudent to consult a home inspection team. These experts can uncover hidden problems, allowing you to address them before they worsen. They can also recommend reliable painters to ensure that the job is done right the first time.
Conclusion
As you close the paint can and step back to admire your bathroom ceiling handiwork, remember that a well-maintained bathroom is a testament to thoughtful homeownership. From the gleam of your mold-resistant ceiling to the hum of perfectly functioning plumbing, every effort you make turns your bathroom into a haven.
However, if challenges arise that call for professional expertise, don’t hesitate to reach out to your local home inspection team. The experts at Alpha Building Inspections can inspect your ceiling, walls, and the rest of your home to ensure your space is in great shape from roof to floor.