Updating a home doesn’t need to take a lot of work or expense. Many homeowners give their bathroom a new look by replacing the bathroom vanity: a common project during home renovations. If you’re wondering how to remove a bathroom vanity safely and efficiently, this guide will walk you through the essential steps and tools needed for the job.
Alpha Building Inspections provides expert home inspection services to help identify issues like water damage or plumbing concerns behind your bathroom vanity.
Why Removing an Old Vanity Matters Before a Sale or Inspection
Removing a bathroom vanity is often the first step in a small but impactful renovation. In the local markets of Portland, Manchester, and Concord, buyers are looking for move-in-ready homes. A vanity that shows signs of wood rot, dated finishes, or leaky plumbing can lead a buyer to wonder what else has been neglected in the house.
Removing the old vanity allows sellers to inspect and address hidden problems such as water damage, mold, or plumbing leaks behind the cabinet. These are issues that often come up during home inspections. By proactively resolving these concerns, sellers can avoid delays or renegotiations that might occur after an inspection report.
Updating or removing an old bathroom vanity can significantly influence the outcome of a real estate transaction. In many markets, buyers are looking for homes that are move-in ready and free from obvious maintenance issues. An outdated or damaged vanity can raise concerns about the overall condition of the home, potentially lowering its perceived value.
Additionally, a clean, updated bathroom space with a new vanity can enhance curb appeal and create a positive impression, making the property more attractive to potential buyers. This small renovation can contribute to a smoother sale process and potentially higher offers.
For buyers, seeing that the vanity has been recently replaced or properly maintained provides confidence in the home’s upkeep and reduces worries about costly repairs soon after purchase.
Overall, removing and replacing a bathroom vanity is a practical step that can improve the marketability of a home and facilitate a successful real estate transaction.
Project Timeline
For most homeowners, removing a bathroom vanity takes between one and three hours. If the plumbing is easy to access and the vanity is not glued heavily to the floor, you might finish the job in under an hour. However, if you run into stuck valves or have a heavy stone top that requires a second person to help, the process can take a bit longer.
It is a good idea to set aside a full morning for the project so you have plenty of time to clean the wall and floor once the cabinet is gone. Doing this carefully ensures you do not create extra work by damaging the drywall right before your home inspection.
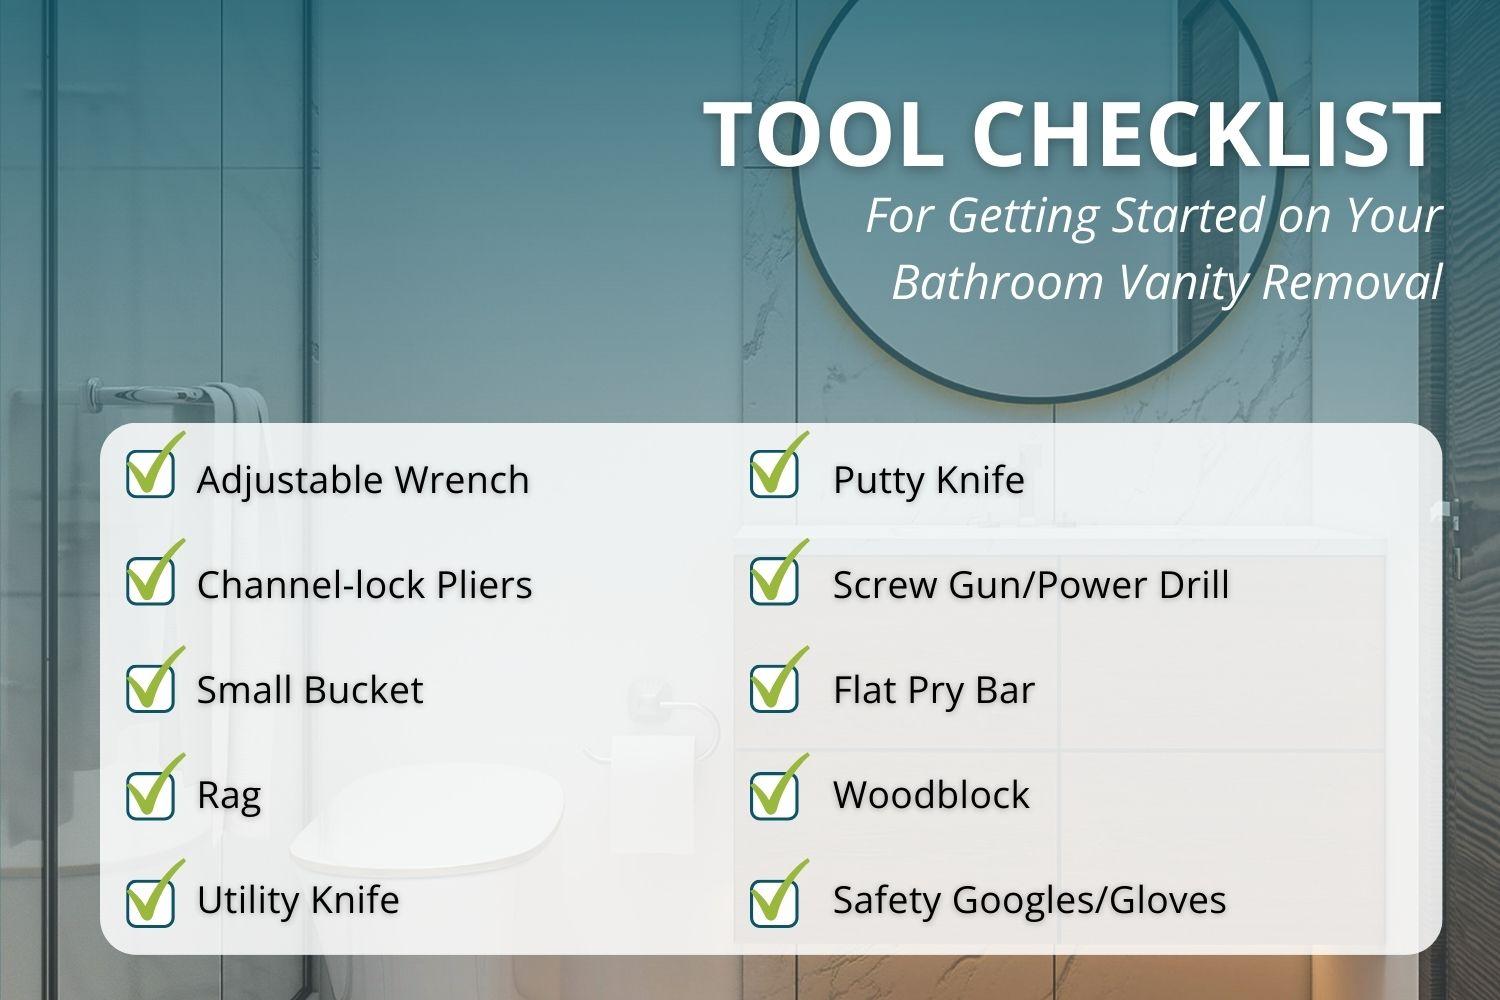
Essential Tools for Smooth Vanity Removal
Before you start your bathroom update, grab these specific items. Having the right tools prevents damage to your walls and makes the job much faster. These are common items you can find at any local hardware store in New Hampshire or Maine.
- Adjustable Wrench and Channel-lock Pliers: Use the wrench for metal nuts on water lines and pliers for larger plastic nuts on the drain to avoid damage and injury.
- Small Bucket and Rag: Place the bucket under the drain pipe to catch spills and use the rag to wipe drips, preventing water damage.
- Utility Knife and Putty Knife: Cut caulk seals with the utility knife to protect drywall; use the putty knife to scrape off old glue after removal.
- Screw Gun or Power Drill: Quickly remove screws securing the cabinet to wall studs, especially if screws are rusted or stuck.
- Flat Pry Bar and Woodblock: Pry the vanity away safely by placing the woodblock against the wall to protect the drywall and using the pry bar.
- Safety Goggles and Gloves: Protect eyes and hands from dust and sharp edges, especially if the vanity top is ceramic or glass.
Steps to Remove A Bathroom Vanity
There are 5 steps to removing a bathroom vanity. Let’s take a look.
Shutting Off the Water Supply
- Locate the two shut-off valves inside the cabinet: one for hot water and one for cold water.
- Turn both valves clockwise until they are fully closed.
- If the valves are old and stuck, shut off the main water line to the entire house.
- Turn on the faucet to release any remaining water pressure and allow the lines to drain, preventing leaks.
Disconnecting the Plumbing Lines
- Place a small bucket under the P-trap (the U-shaped pipe under the sink) to catch any water spills.
- Use an adjustable wrench or channel-lock pliers to loosen and remove the nuts on the P-trap, then carefully detach it.
- Disconnect the flexible supply lines from the shut-off valves using your wrench.
- Be careful not to twist the copper pipes coming out of the wall, especially if they are old or corroded.
Cutting the Caulk and Removing the Mirror
- Use a sharp utility knife to carefully slice through the caulk where the backsplash meets the wall and where the vanity cabinet meets the side walls.
- If there is a large mirror sitting on the backsplash, remove it before moving the vanity.
- Use a flat pry bar to gently pry the mirror off the wall or remove any screws securing it.
- Wear safety goggles to protect your eyes from glass shards.
Removing the Vanity Top and Cabinet
- Gently use a pry bar to lift the edges of the vanity top until it comes free.
- If the vanity top and sink are one piece, lift it straight up and out of the room.
- With the top removed, locate the screws holding the cabinet to the wall studs.
- Use a drill or screwdriver to remove the screws; if nails are present, use a pry bar to remove them.
- Carefully slide the cabinet away from the wall, avoiding damage to the floor or walls.
Prepare the Area For the New Vanity
After you take the old vanity out, you will want to get the area ready to install your new vanity. There may be caulk left on the walls, so using a putty knife or scraper can remove this. However, if you measured the new vanity and it is the same size as the one you removed, you can leave the caulk on the walls if you want to. This can be a time saver. However, if it is shorter or smaller, you will need to cover up any issues.
Next, if there are any nail holes, you will need to patch those and also paint the rest of the wall so it matches. Most often, bathroom vanities are screwed directly into studs in the walls or are anchored to the wall.
If there is flooring missing and noticeable, you will want to patch the exposed areas before adding the new vanity. This will be the last step before you add your new vanity.
What Home Inspectors Look For Behind the Vanity
As home inspectors serving New England, we often find that the area behind a vanity tells a story about the home’s maintenance. When you remove the cabinet, look closely for signs of water stains, crumbling drywall, or black spots that could indicate mold.
If your home has a crawlspace or basement below the bathroom, check the floorboards for any signs of rot. Buyers are very sensitive to “organic growth” or mold, and catching this now allows you to clean it properly and repair the source of the leak.
Our inspectors examine under plumbing and behind freestanding furniture such as vanities, but do not inspect inside or behind walls. This proactive approach ensures that when Alpha Building Inspections performs a pre-listing inspection or a buyer’s inspection, the bathroom will pass with flying colors.
Common Issues Found During Removal
| Issue | What it Looks Like | Potential Fix |
|---|---|---|
| Water Stains | Yellow or brown rings on the wall | Repair the leak and replace damaged drywall |
| Corroded Valves | Green or white crust on the metal | Install new quarter-turn shut-off valves |
| Floor Rot | Soft or spongy wood near the pipes | Replace the subfloor and check the joists |
| Mold Growth | Black or green fuzzy spots | Clean with a professional solution and dry the area |
Preparing the Space for the New Vanity
After the old vanity is out, you have a “blank canvas.” This is the perfect time to patch any holes in the drywall and apply a fresh coat of moisture-resistant paint. If the flooring was installed around the old vanity rather than under it, you might have a gap in your tile or linoleum.
You will need to either find matching flooring or choose a new vanity that has the exact same footprint as the old one to hide the gap. In Maine and New Hampshire, keeping a bathroom well-sealed is vital for preventing humidity from escaping into the wall cavities, which can lead to structural issues over time.
Other Recommended Maintenance
Now that you know about removing a vanity in your bathroom, let’s take a look at some other areas of recommended maintenance.
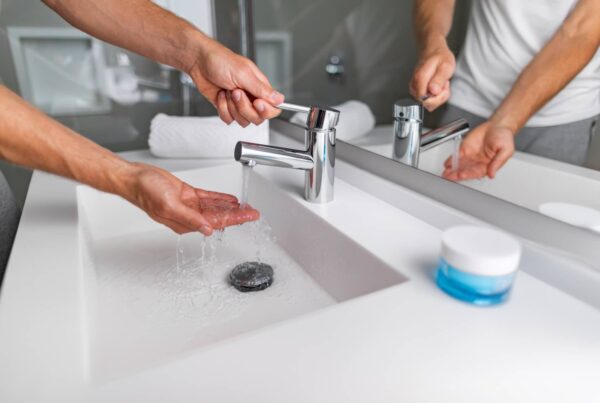
One of those is cleaning calcium buildup on a faucet. To do this, you can use non-toxic methods, such as white vinegar, or install a water softener to remove the buildup.
Another is painting a bathroom ceiling. After you have taken out the vanity, you may notice that your ceiling paint needs updating. Following the paint manufacturer’s instructions is key.
Lastly, you may be wondering why your shower drain smells. It can be hair and soap scum buildup, as they cause mold. Also, it could be that the P-trap is dirty or missing, so trying a few things to narrow it down is a good idea.
Related Questions
Is professional plumbing required for a bathroom vanity installation?
>>>>>>>>>>>>>>>>>>>>>>>>>>>>>>>>>>>>>>>>>>>>>>>>>>>While swapping a unit is often a manageable DIY task, a licensed professional ensures that P-traps and supply lines meet current building codes. Proper installation is critical to prevent slow leaks and moisture intrusion, which are common issues identified during routine plumbing inspections.
What is the best way to handle renovation waste in New Hampshire?
Disposal regulations for construction debris vary by municipality across New Hampshire, typically requiring a trip to a local transfer station. For homeowners updating a property for the market, donating functional fixtures to local organizations can streamline the clearing process while supporting sustainable home improvement practices.
Should bathroom flooring be installed under the vanity?
>>>>>>>>>Installing flooring across the entire room before the vanity is set creates a continuous moisture barrier and provides a more finished appearance. This approach prevents the subfloor from being exposed to potential leaks. This detail is often scrutinized during structural and move-in inspections to ensure long-term durability.
How does a bathroom refresh affect a home’s market readiness?
Upgrading a vanity is a high-impact, low-cost way to improve a home’s overall aesthetic and functional appeal. Beyond the visual improvement, ensuring that all fixtures are leak-free and correctly sealed can lead to a smoother professional home inspection and increase buyer confidence in the property’s maintenance history.
When Do I Call a Professional
While removing a bathroom vanity can often be done as a DIY project, situations call for a professional. If you’re unsure about disconnecting plumbing lines or shutting off the water supply, it’s safer to seek professional help.
Another is if the vanity is attached to the wall with complicated mounting systems or if there are structural concerns, a professional can handle it more efficiently. Lastly, if you’re planning on installing a new vanity or making significant changes to the plumbing layout, consulting a professional is advisable.
Conclusion
Removing a bathroom vanity can be a straightforward task if you have the right tools and follow the necessary steps. However, if you encounter any difficulties or feel uncertain about the process, don’t hesitate to call a professional for assistance. Reach out to Alpha Building Inspections for a full home inspection in Merrimack, New Hampshire, and surrounding areas.